Granny flats are booming across the Sunshine Coast, and it's easy to see why. Whether you're adding a studio for ageing parents who want independence without being far away, creating a space for an adult child who isn't quite ready to leave the nest, or setting up a self-contained dwelling to generate rental income — a well-built secondary dwelling can genuinely transform how a property works for a family.

What's often underestimated, though, is the electrical side of the project. Get it right from the start and you'll have a safe, comfortable, future-proof dwelling. Cut corners — or leave the electrical planning too late — and you'll be back calling an electrician six months in to fix things that should have been done in the rough-in. Having done many of these across Caloundra, Maroochydore, Noosa, and everywhere in between, here's what I wish every client knew before breaking ground.
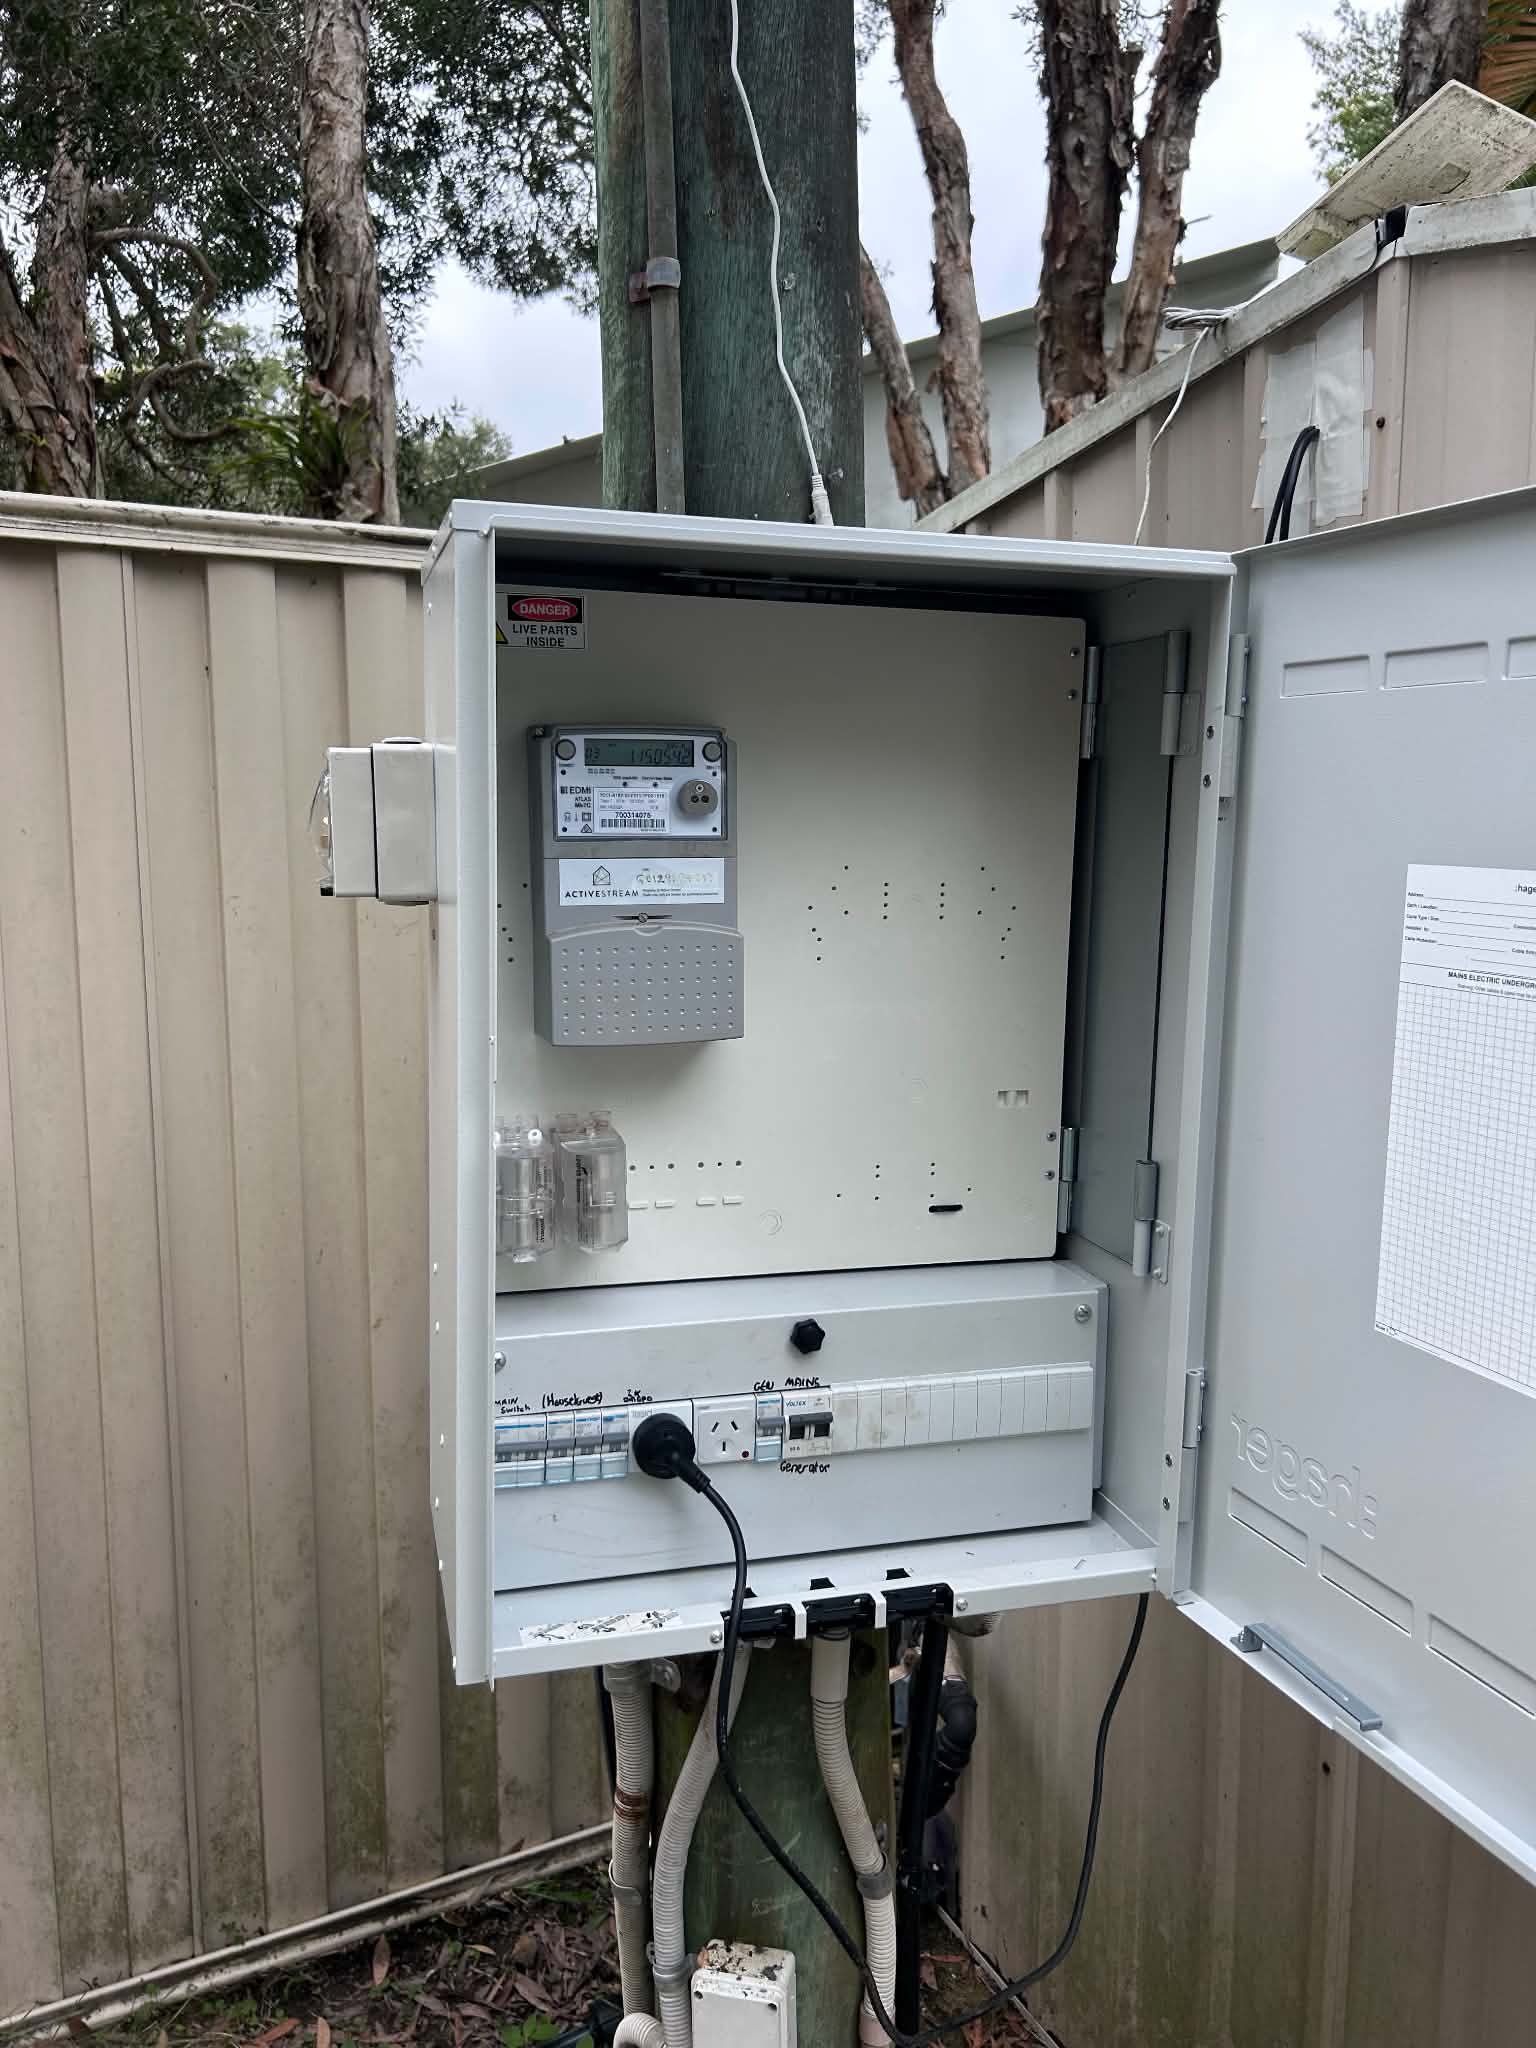
Option 1 or Option 2? Shared Supply vs Separate Metering
The first and most consequential electrical decision for any granny flat is how it will be metered — or whether it will be metered at all.
Option 1: Sub-Board Off the Main Home's Supply
The most common and cost-effective approach. A dedicated sub-board is installed in the granny flat, fed by a new cable run from the main switchboard. All power usage is billed to the same meter as the main home. This is the right choice when:
- The flat is for family members and a single bill is fine
- You want to keep upfront costs lower
- The main house switchboard has sufficient capacity to support the extra load
- You don't need a legally separate tenancy arrangement
The sub-board in the flat should have its own RCDs (residual current devices) protecting every circuit — it's essentially a mini switchboard that gives the flat independent circuit protection while still drawing from the main meter.
Option 2: Separate Metered Supply (Own NMI)
A separate meter means the granny flat gets its own National Metering Identifier (NMI) through Energex — exactly like a separate dwelling on the street. The occupant can set up their own electricity account, receive their own bill, and the usage is completely independent of the main house.
This approach costs more upfront (you're paying for a new service connection, often new underground cabling to the street, and Energex's network fees), but it makes sense when:
- You're renting the flat to a paying tenant and want clean cost separation
- The flat will be a genuine investment property on platforms like rental agencies
- There's any possibility of subdividing the lot in future
- You want to qualify the flat as a self-contained secondary dwelling for lending or valuation purposes
| Factor | Sub-Board (Shared) | Separate Meter (Own NMI) |
|---|---|---|
| Upfront cost | Lower | Higher |
| Bill separation | One bill, shared | Independent accounts |
| Ideal for | Family use | Rental tenants |
| Future flexibility | Moderate | High |
| Energex application | Not required | Required (4–8 weeks) |
What a Complete Granny Flat Electrical Package Includes
A common mistake is treating the flat's electrical as an afterthought — a few power points and lights bolted on at the end. A properly done granny flat electrical fit-out covers every circuit the dwelling needs to function as a genuine home.
Granny Flat Electrical Checklist
Kitchen Circuits
The kitchen is where the electrical load is heaviest. A granny flat kitchen needs a dedicated 32A circuit for any electric oven or cooktop — this can't share with other appliances. The fridge should sit on its own GPO (so it stays on if an RCBO trips on another circuit), and a dishwasher, if fitted, needs its own circuit too. Don't try to run the kitchen off a single general-purpose circuit.
Bathroom
Every bathroom needs an exhaust fan wired in and, increasingly, clients want a heated towel rail — that's another dedicated circuit. All bathroom circuits must be protected by an RCD as per AS/NZS 3000.
Living Areas and Bedrooms
Plan for at least two double GPOs per room, not one. People accumulate devices fast — TV, soundbar, gaming console, phone chargers, lamps — and a flat with under-powered GPOs becomes frustrating quickly. Ceiling fan rough-ins in both the living room and bedroom are worth doing at the rough-in stage even if the fans aren't being installed immediately; adding them later means chasing cables.
Air Conditioning
This is probably the single most overlooked item. Every granny flat on the Sunshine Coast needs air conditioning — our summers make it non-negotiable. A 2.5–3.5kW split system for a one-bedroom flat needs a dedicated 20A circuit. Wire it in at rough-in, even if the unit is being installed later. Failing to do this means cutting walls and re-running cable after gyprocking — expensive and messy.
Data and Connectivity
At minimum: one NBN-ready data point and one TV antenna point. If budget allows, run data cabling to the bedroom as well — a flat with good connectivity is vastly more liveable and more attractive to renters.
Outdoor GPO
Always fit at least one weatherproof double GPO on the exterior. It's used constantly — outdoor lighting, a pressure washer, charging garden tools. It's cheap to include at rough-in and expensive to add later.
Queensland Regulations for Secondary Dwellings
In Queensland, a granny flat (secondary dwelling) must comply with the Queensland Development Code (QDC) Mandatory Part 1.1, and the electrical installation must meet AS/NZS 3000 (the Australian Wiring Rules). All electrical work must be carried out by a licensed electrical contractor and a Certificate of Test (Form 9) must be issued on completion.
Under Queensland's Building Regulation 2006, secondary dwellings are subject to the same building code requirements as a primary dwelling when it comes to electrical safety. This means RCD protection on all circuits, correct cable sizing, proper earthing, and smoke alarm compliance.
Smoke Alarm Interconnection — The Rule Most People Don't Know
Queensland's smoke alarm legislation (amended in 2022) requires photoelectric smoke alarms in all bedrooms, in hallways connecting bedrooms to the rest of the dwelling, and on each level. This applies to granny flats as well as the main home.
The important rule that catches people out: if the granny flat is on the same electrical supply as the main home, all smoke alarms across both dwellings must be interconnected. This means if an alarm triggers in the flat at 2am, the alarms in the main house also sound — and vice versa. Interconnection can be done via hardwired cabling between the two buildings or via a wireless interconnect system. Both are valid, but the approach needs to be planned at the rough-in stage.
If the flat has its own separate metered supply (separate NMI), the smoke alarm requirements for each dwelling are independent — the flat's alarms are treated as a standalone system.
Converted Shed or Garage vs Purpose-Built Flat — What Changes Electrically
Converting an existing shed or garage into a granny flat is a popular way to add a secondary dwelling without the cost of a new build. But it changes the electrical scope considerably.
An existing shed typically has a basic sub-board with one or two general circuits — nowhere near enough for habitable use. You're effectively starting the electrical from scratch: new sub-board, all new circuits, adding bathroom circuits that didn't exist, A/C provision, data cabling, and bringing smoke alarms up to the current Queensland standard. The existing cable runs and wiring may also need to be replaced if they're not rated for the new loads or are too old.
Budget for a conversion to cost roughly the same as a new fit-out — sometimes more, because existing structures can throw up surprises that a new build doesn't.
Working With Your Builder — Rough-In and Final Fix
Granny flat builds typically happen in two electrical stages:
- Rough-in — Conduit and cables are run through the wall frames before lining goes on. This is when all circuit positions are confirmed, A/C provisions are made, sub-board location is set, and data cabling is run. Missing something at rough-in is expensive to rectify later.
- Final fix — After lining and painting, we return to install all the outlets, switches, fans, light fittings, and connect the sub-board. Smoke alarms are installed and tested at this stage too.
I coordinate directly with builders throughout — getting the rough-in timing right is critical because it has to happen before the plasterboard goes up but after the frame is complete. Good communication between trades at this stage is what keeps a build on schedule.
Common Mistakes to Avoid
- Under-sizing the sub-board: Fit a board with room to grow. Adding circuits to a full board later means replacing it entirely. Spend an extra few hundred dollars upfront and get a board with spare capacity.
- Forgetting the outdoor GPO: It's requested by nearly every client after the fact. Wire it in at rough-in.
- Not running the A/C circuit: Without a dedicated circuit, the A/C either can't be installed or requires a return visit with wall chasing and extra cost. It takes 20 minutes to wire at rough-in.
- Assuming the main board can handle the load: Adding a granny flat to an already-loaded main switchboard can cause nuisance tripping and potentially overload issues. We always assess the main board's existing capacity before designing the granny flat electrical.
- Leaving smoke alarm interconnection until the end: If the smoke alarms need to be interconnected between buildings, the cabling path needs to be planned before walls are closed up.
- No data to the bedroom: In a rental flat, a bedroom without a data point is a genuine drawback. Two minutes of planning at rough-in avoids a disappointed tenant.
Done properly, the electrical fit-out of a granny flat isn't complicated — but it does require planning ahead and thinking through the full picture before the first nail goes in. If you're building on the Sunshine Coast and want to talk through the electrical scope before you start, give me a call. I'm happy to look at the plans, give you a clear quote, and coordinate directly with your builder from day one.
Planning a granny flat on the Sunshine Coast?
Get a free electrical quote — we work directly with builders and can quote from plans. No obligation.
Call 0433 828 901Or email pipelectrics1@gmail.com